OUR TECHNOLOGY
GETTING STARTED
Discover how easy it is to get started with BackSCNR.
Watch our step by step guide and see how our innovative technology can transform scoliosis care.
QUICK LINKS
1. DOWNLOAD THE APP
To start capturing patient scans, download the BackSCNR iOS app from the App Store. It is compatible with iPad (recommended) and iPhone.
Download on the App Store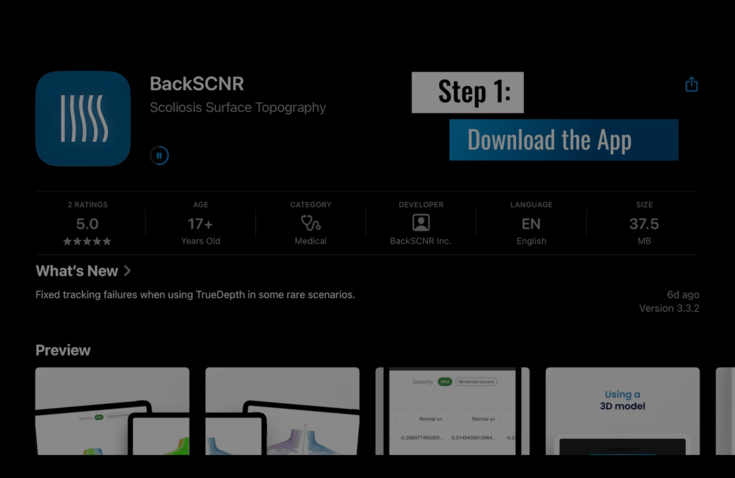
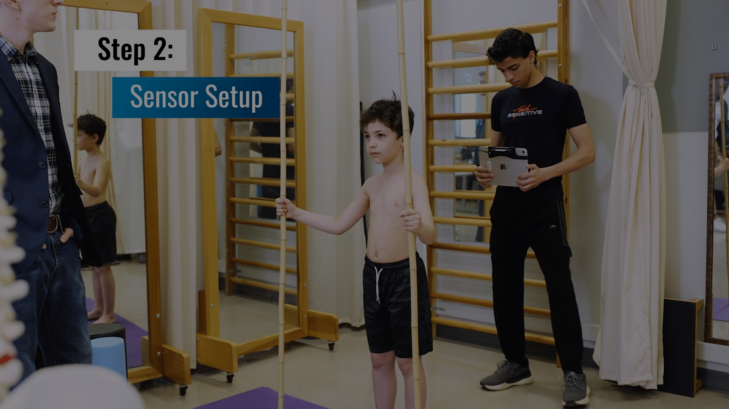
2. SENSOR SETUP
The app requires a Structure Sensor to capture 3D scans. It's compatible with Structure Sensor 3 (recommended) and also older models.
The Structure Sensor is precise and easy to use. This advanced sensor provides safe, accurate, and/or radiation-less scoliosis assessments. Compatible with the BackSCNR app, it ensures reliable data capture without radiation risks.
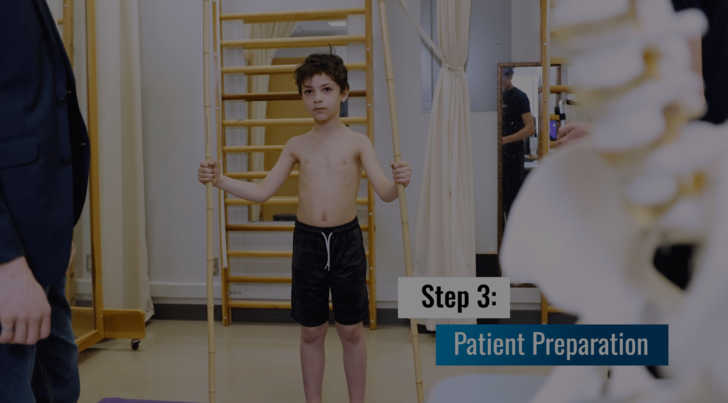
3. PATIENT PREPARATION
Ensure the patient is ready for the scan:
- Upper body bare or in a sports bra.
- Standing tall with arms slightly apart.
- Hair tied back if necessary, torso must be visible.
- Patient's pants or shorts at the level of the posterior superior iliac spine (PSIS) (the PSIS is visible or palpable bones in the lower back, just above the hips).
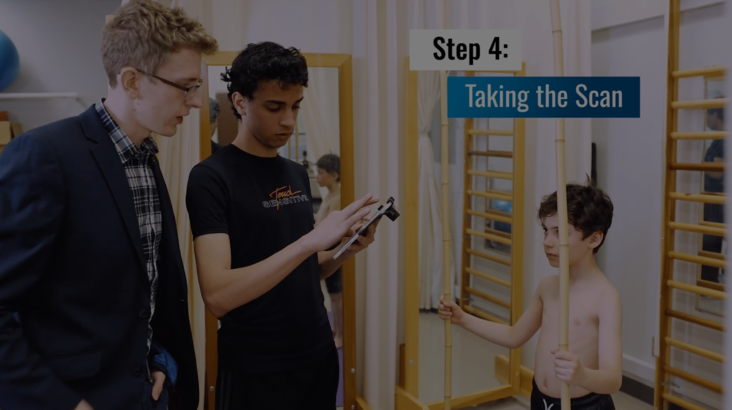
4. TAKING THE SCAN
Connect the sensor to your iPad or iPhone, open the BackSCNR app, and follow the on-screen instructions to capture the scan.
TIPS
- Maintain enough distance to capture the patient's full torso height.
- The patient should have their upper body bare or wear a sports bra and stand tall with arms slightly apart.
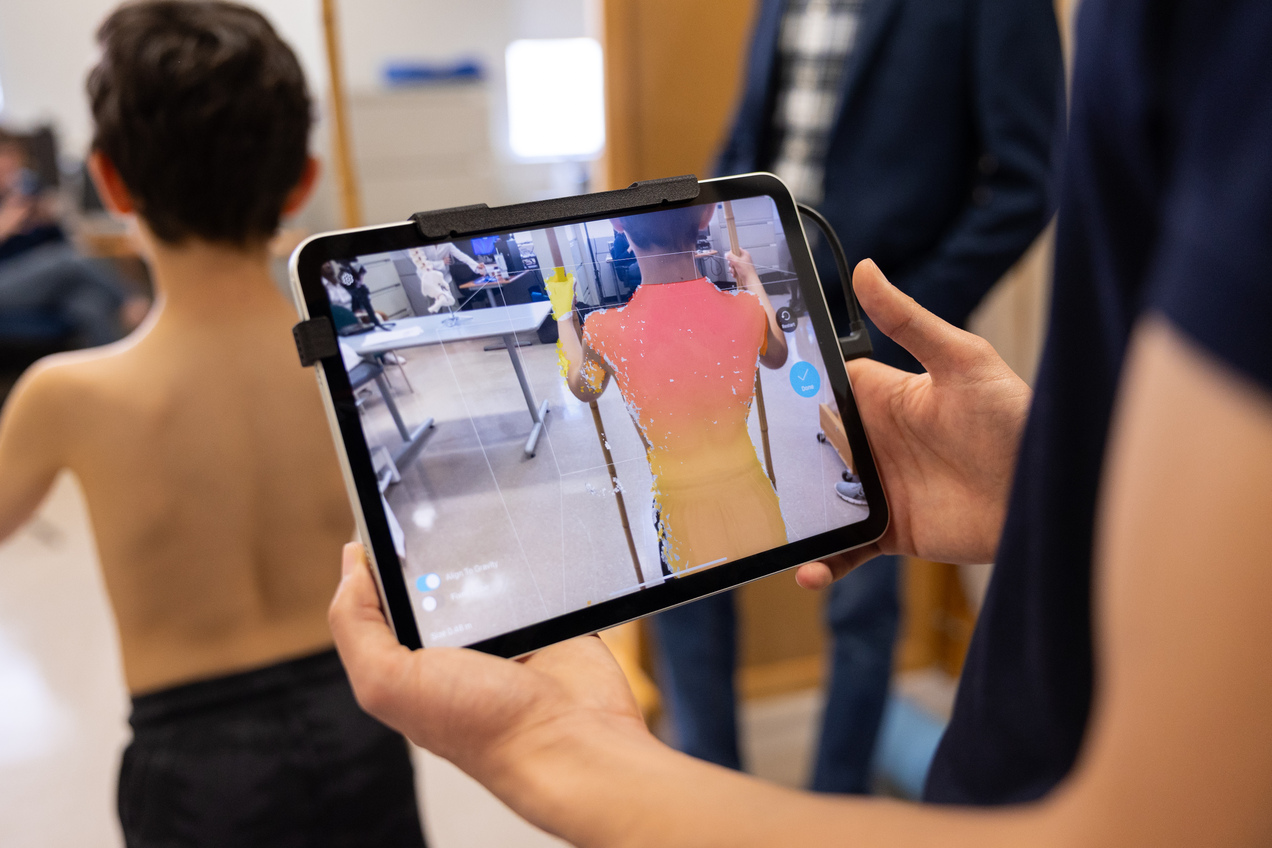
- Scan the entire torso in a full 360° rotation, starting from the back and moving to the front.
- The red areas on the scan show the detected body parts for scanning.
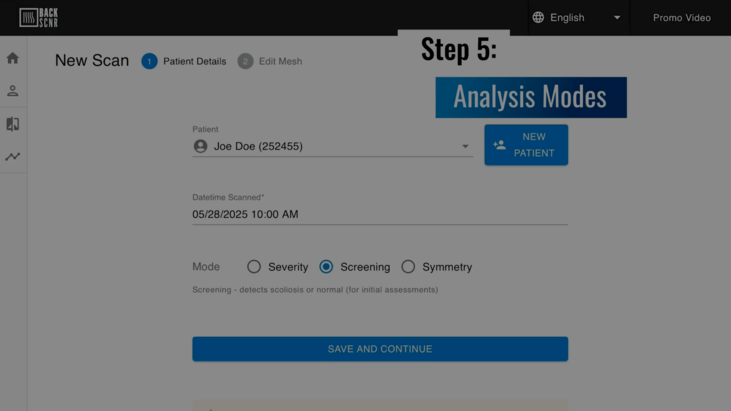
5. ANALYSIS MODES
After completing the scan, create a new patient profile and fill in the appropriate fields. Select the patient, go to the scan details and lines, and choose the analysis mode.
MODES
- Severity mode: Predicts Cobb angle
NB: works best for people with 15° to 45°
- Screening mode: Detects signs of scoliosis for further assessment
NB: should not be used on patients with confirmed scoliosis (especially for those with high Cobb angles)
- Symmetry mode: Visualizes symmetry on the 3D model (for general use)
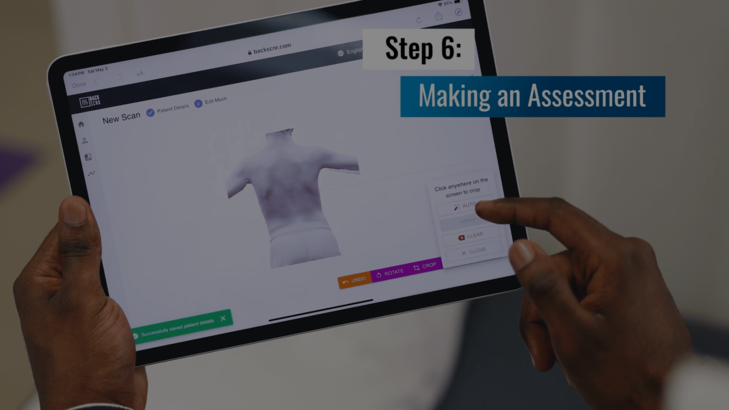
6. MAKING AN ASSESSMENT
ALIGNMENT
Before analysis, ensure that the torso is upright and that the displayed image shows the back of the torso. Otherwise, use the tools provided to orient the torso appropriately.
CROPPING
Remove all arm portions at the armpits completely. Crop the neck and chin area to be level with the shoulders. Cut off everything below where the pants begin, but keep as much of the hip area as possible.
ANALYSIS
Click the Analysis button.
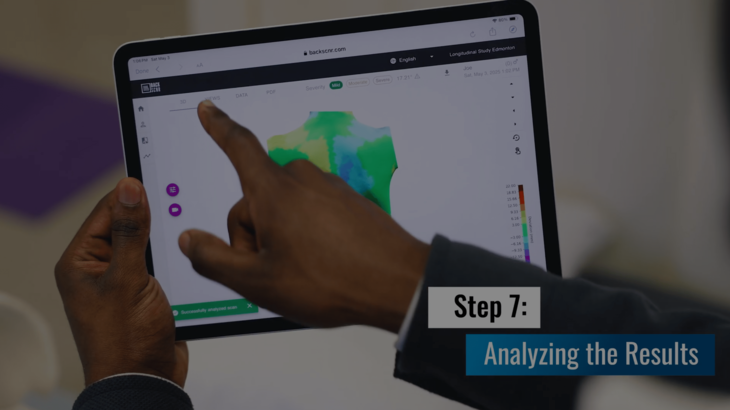
7. ANALYZING THE RESULTS
After analysis, key results appear in the toolbar:
- Tabs: Switch between different results.
- Classification: Displays the Cobb angle or screening model result.
- Cobb angle: AI-predicted Cobb angle.
- Download Files: Export the 3D model, image, and CSV files.
- Patient Info: Name, age, sex, etc.
- Scan Date/Time: When the scan was taken.
INTERACTIVE 3D VIEW
The 3D view lets you rotate, zoom, and pan the model. The color bar on the right shows deviation in millimeters, where red indicates gibbosity, and blue indicates depression, with color intensity representing the magnitude of deviation. 2D images are available in the VIEWS tab.
PATCH DATA
Detailed numerical data for each patch is available in the "Data" tab. Each patch includes its torso location, area (mm²), root mean square deviation (mm), maximum deviation (mm), lateral deviation from the center, volume (mm³), and centroid coordinates (x, y, z).
PDF REPORT
A downloadable PDF report is available in the "PDF" tab.
A PRECISE
PARTNERSHIP.
The Structure Sensor by Occipital is precise and easy to use. The sensor delivers accurate optical 3D scans and seamlessly integrates with our app, ensuring reliable evaluations without radiation risks. The sensor features industrial-grade calibration and real-time dense geometry capture; the Structure Sensor is exceptionally precise for healthcare environments.
